How to Make Napkin Decoupage Seashell Art: A Beautiful Coastal DIY Guide
Summer is here, and there’s no better time to bring the beach into your home. If you love coastal home decor DIY projects, this guide will show you exactly how to make napkin decoupage seashell art step by step. This craft is simple, cheap, and fun for all skill levels.
What Is Napkin Decoupage Seashell Art?
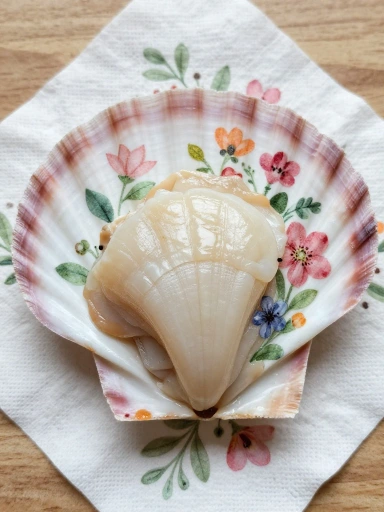
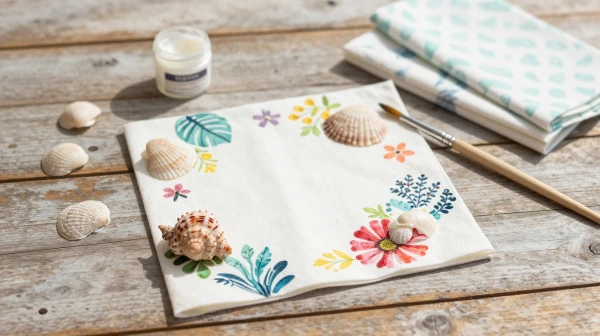
Napkin decoupage seashell art is a craft technique where you glue thin paper napkins onto seashells using a special adhesive. The napkin’s pattern becomes part of the shell, creating a beautiful painted look without any painting skill needed.
This style of decoupage crafts has been around for decades, but it has found new life as a beach-inspired craft idea. People use it to make jewelry, home decor, and small gifts. It’s one of the easiest DIY seashell crafts you can try this year.
Why You’ll Love This Easy Coastal Craft
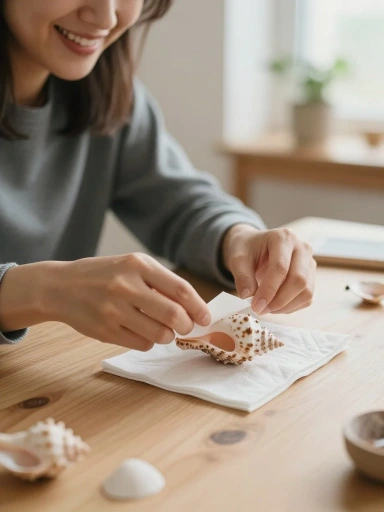
This project is perfect for beginners because it needs very few tools and almost no experience. You don’t need to be artistic to make something beautiful. Anyone can follow this napkin decoupage tutorial and get great results the first time.
It’s also budget-friendly, relaxing, and great for family time. Kids, teens, and adults can all join in. Many people call it one of the best easy DIY shell art projects because it turns something free (seashells) into home decor worth displaying.
Supplies You’ll Need for the Project
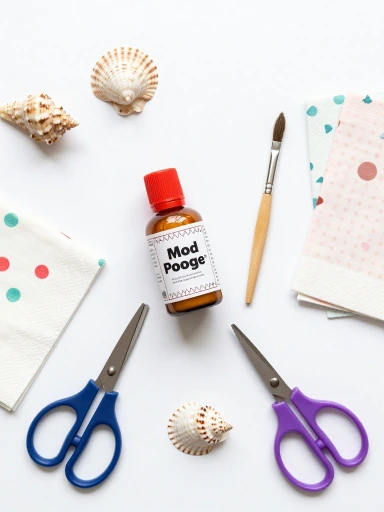
Before you start, gather your materials. Having everything ready makes the process smoother and more enjoyable. Below is a simple table listing what you’ll need for this DIY seashell crafts project.
| Supply | Purpose |
|---|---|
| Clean, dry seashells | The base for your art |
| Paper napkins with patterns | Adds design and color |
| Mod Podge or decoupage glue | Sticks the napkin to the shell |
| Small paintbrush | Applies glue smoothly |
| Scissors | Cuts napkin shapes |
| Sealer or varnish | Protects the finished piece |
These items are cheap and easy to find at craft stores. Once you have your supplies ready, you’re set to begin your Mod Podge seashell art project.
Choosing the Best Seashells for Decoupage
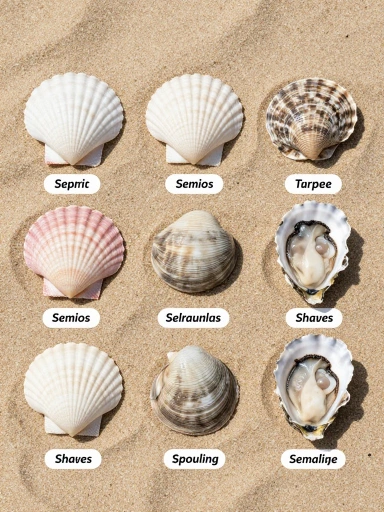
Not all seashells work the same way for this craft. Flat or gently curved shells like scallops, clams, and oyster shells are easiest to decorate. Their smooth, wide surface holds napkin patterns better than deeply ridged shells.
You can collect shells from the beach or buy them from a craft store. Either way works fine for decoupage seashells. Just make sure they are clean, dry, and free of cracks before you start decorating.
How to Select the Perfect Decorative Napkins
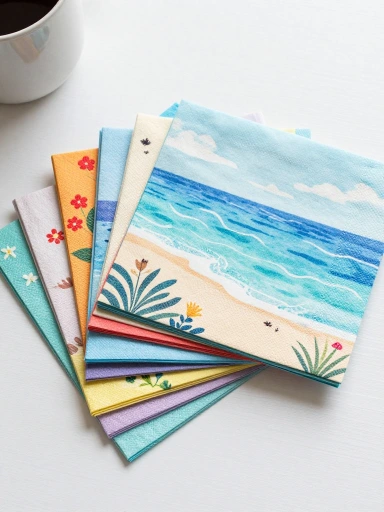
The napkin you choose sets the whole mood of your project. Thin, three-ply paper napkins work best because only the top printed layer is used. Look for ocean-themed crafts designs like waves, fish, shells, or tropical flowers.
Floral and geometric patterns also look lovely on shells. When picking napkins, think about where the final piece will be displayed. A soft blue pattern fits a coastal DIY decor style, while bright colors suit a fun summer table setting.
You also like this: DIY Bandana Charm Necklace Accessory: Create a Trendy Handmade Fashion Piece
Preparing Your Seashells Before Decorating
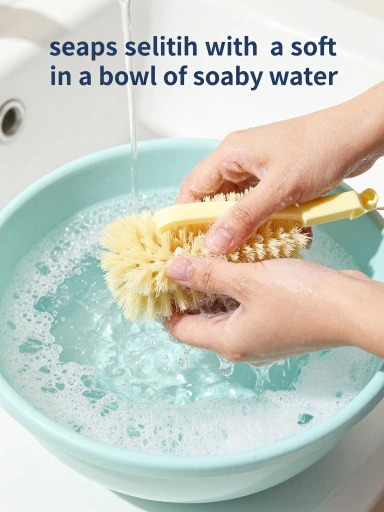
Preparation is the secret to a smooth, professional finish. Wash your shells with warm soapy water and a soft brush to remove sand, salt, and dirt. Let them dry completely before adding any glue.
If your shells smell fishy, soak them in a mix of water and bleach for a few minutes. Rinse well afterward. This simple step makes a big difference in how your handmade seashell decor turns out.
Step-by-Step Napkin Decoupage Tutorial
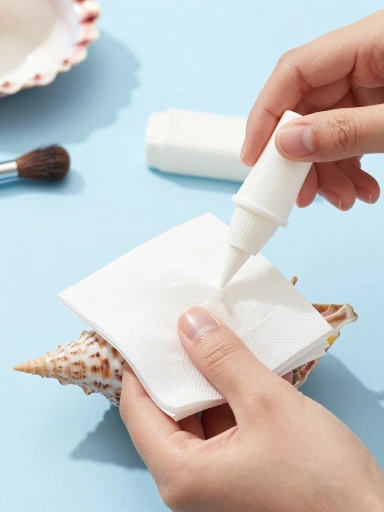
Now for the fun part. Follow this step-by-step decoupage shell tutorial to create your first piece of art. Take your time with each step for the best results.
- Separate the printed top layer of the napkin from the other layers.
- Tear or cut the design into small pieces that fit the shell’s shape.
- Brush a thin layer of Mod Podge onto the shell’s surface.
- Gently press the napkin piece onto the glue, smoothing it with your fingers.
- Brush another thin layer of glue over the top of the napkin.
- Let it dry fully before adding more layers or moving to sealing.
This process is simple, but patience matters. Rushing can cause wrinkles or tears in the napkin, so go slow and steady.
Tips for Applying Napkins Without Wrinkles
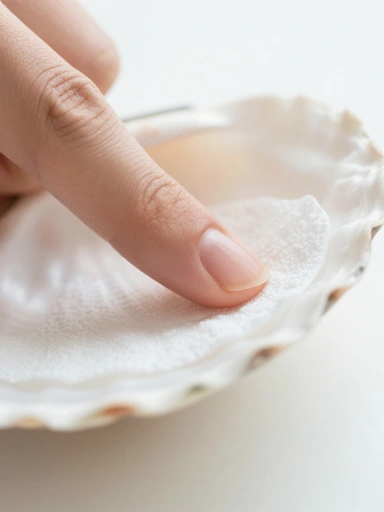
Wrinkles are the most common problem in beginner-friendly decoupage projects. To avoid them, always use very thin layers of glue. Too much glue makes the napkin slide around and bunch up.
Smooth the napkin from the center outward using your fingertip or a soft brush. Small tears in the paper are actually helpful because they let it curve around the shell’s shape naturally. This trick makes elegant napkin decoupage techniques much easier to master.
Sealing and Protecting Your Finished Seashell Art
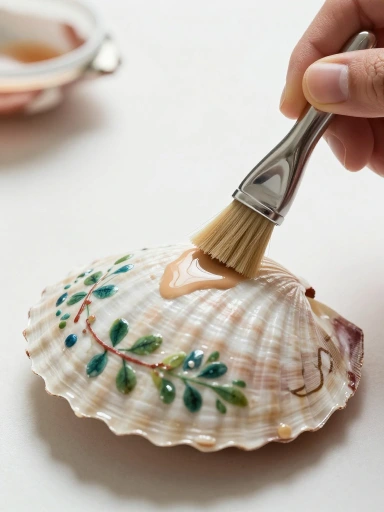
Once your shell is fully dry, it’s time to protect your work. Apply two to three thin coats of a clear sealer or varnish. Let each coat dry completely before adding the next one.
Sealing keeps the napkin pattern from peeling, fading, or getting damaged by moisture. This step is especially important if your DIY coastal gifts will be displayed outdoors or handled often.
Creative Design Ideas for Every Style
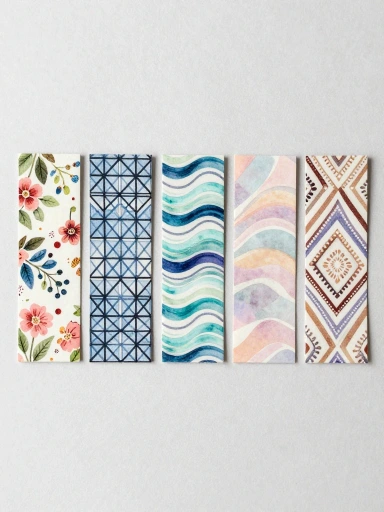
There are endless ways to customize your shells. Try mixing different napkin patterns on one shell for a patchwork look. You could also stick to one color family for a calm, elegant finish.
For a more textured piece, layer torn strips instead of full images. This creative seashell craft inspiration works well for people who want something unique. No two shells ever turn out exactly the same, which makes each piece special.
Coastal Home Decor Ideas Using Decoupage Seashells
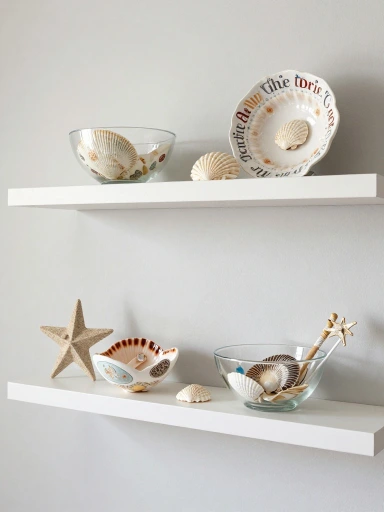
Decorated shells make wonderful additions to your home. Group several shells in a glass bowl for a simple centerpiece, or glue them onto a picture frame for a beachy border. These coastal home decor DIY projects instantly brighten any room.
You can also use your shells as drawer knobs, curtain tiebacks, or wall art pieces. Displaying a mix of sizes and patterns together creates a natural, layered look that feels straight out of a beach cottage.
DIY Gift Ideas with Decorated Seashells
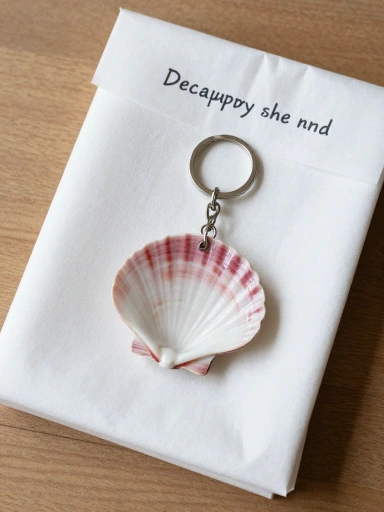
Handmade gifts always feel more personal, and decoupage shells are no exception. Turn a decorated shell into a trinket dish, a keychain, or a small jewelry box topper. These handmade coastal gifts are perfect for birthdays, weddings, or housewarmings.
You can also package a few shells together in a small box with tissue paper for a thoughtful, low-cost present. Adding a handwritten tag makes it feel even more special.
Common Decoupage Mistakes and How to Avoid Them
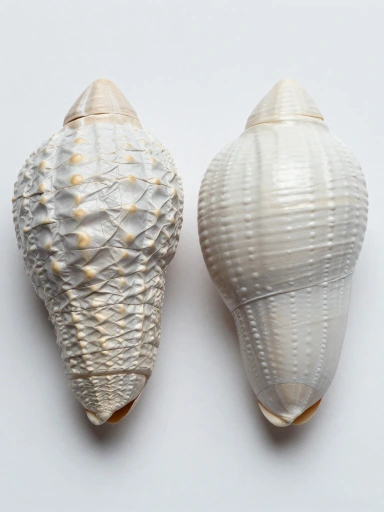
Even simple crafts can go wrong if you skip a few key steps. Here’s a quick table showing common mistakes and how to fix them.
| Mistake | Fix |
|---|---|
| Using too much glue | Apply thin, even layers only |
| Skipping the drying time | Wait until each layer is fully dry |
| Not sealing the shell | Always finish with two to three coats of sealer |
| Using thick napkins | Only use the top printed layer |
| Ignoring shell shape | Choose flatter shells for easier application |
Avoiding these errors will save you time and give you a much cleaner final result.
Budget-Friendly Tips for DIY Seashell Crafts
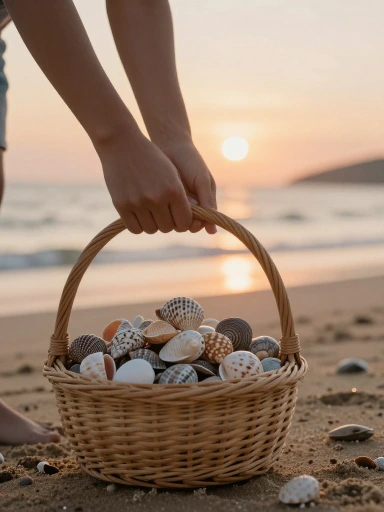
You don’t need to spend much money to enjoy this hobby. Collect shells for free at the beach instead of buying them. Buy napkins in bulk packs, since one pack can cover many projects.
Reuse small paintbrushes and containers from other crafts to save even more. These small choices make DIY beach decor on a budget completely achievable without cutting corners on quality.
How to Care for and Display Your Seashell Art
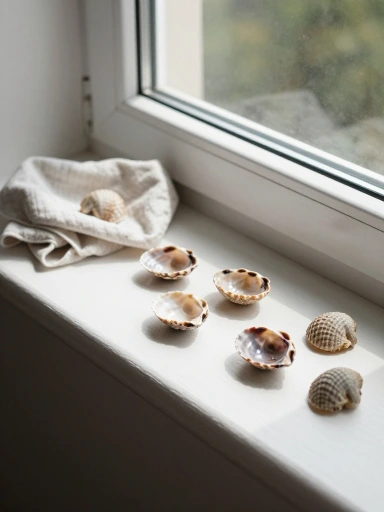
Once finished, your seashell art needs very little upkeep. Keep pieces away from direct sunlight to prevent fading over time. Dust gently with a soft, dry cloth instead of using water.
If you display your shells outdoors, bring them inside during heavy rain or storms. Proper care keeps your beautiful shell decorating techniques looking fresh for years to come.
Frequently Asked Questions About Decoupage Seashells

Q: What glue works best for napkin decoupage on seashells?
A: Mod Podge is the most popular choice because it dries clear and seals in one step.
Q: Can I use real napkins from a party pack?
A: Yes, any thin three-ply paper napkin works well for this craft.
Q: How long does it take for the glue to dry?
A: Each layer usually dries in about fifteen to twenty minutes, though full curing takes longer.
Q: Do I need to seal the shells after decorating?
A: Yes, sealing protects the design and makes the shell last much longer.
Q: Can this craft be done with kids?
A: Absolutely. It’s a safe, mess-friendly activity that’s great for family craft days.
Creative Variations to Personalize Your Design
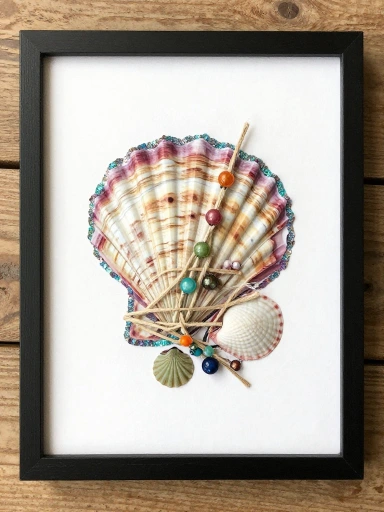
If you want to try something different, mix decoupage with paint accents or glitter edges. You can also add small beads or twine for a more textured, bohemian look. These personalized seashell art ideas let your creativity shine.
Try seasonal themes too, like pastel florals for spring or warm oranges for fall. Changing your napkin choice is the easiest way to switch up your entire design style.
Final Tips for Stunning Handmade Seashell Art
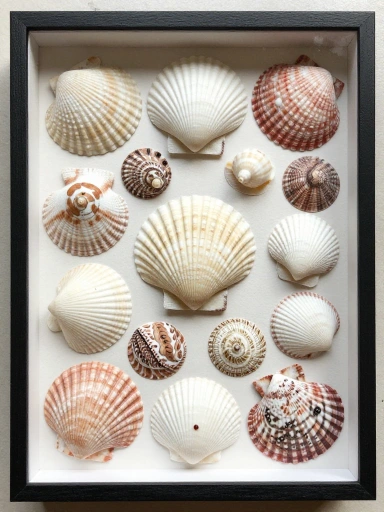
Practice makes a big difference with this craft, so don’t worry if your first shell isn’t perfect. Each attempt teaches you something new about layering and smoothing. Over time, your beautiful coastal DIY pieces will look more polished and professional.
Most importantly, have fun with the process. This is a relaxing, low-pressure hobby that rewards patience and creativity, giving you handmade decor and gifts you’ll be proud to share.