
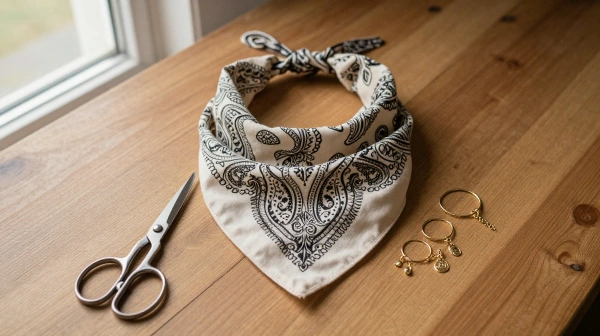
DIY Bandana Charm Necklace Accessory: Create a Trendy Handmade Fashion Piece
Bandanas aren’t just for cowboys and picnic baskets anymore. They’ve quietly turned into one of the coolest materials for DIY fashion accessories, and this guide shows you exactly how to turn a simple square of fabric into something you’d actually want to wear out. If you’ve been scrolling through crafty corners of the internet wondering how to make a DIY bandana charm necklace that looks store-bought without the price tag, you’re in the right spot.
This project is cheap, fast, and forgiving. You don’t need a jewelry-making degree. You just need a bandana, a few charms, and about twenty minutes of your afternoon.
What Is a DIY Bandana Charm Necklace?
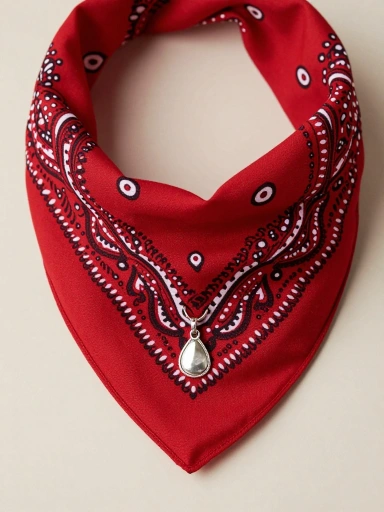
A bandana charm necklace is exactly what it sounds like. You fold, twist, or braid a bandana into a necklace shape, then attach charms, beads, or pendants to give it personality. It’s part textile craft, part jewelry making, and it works with almost any style.
Think of it as the lovechild of a friendship bracelet and a statement necklace. It’s soft, colorful, and completely customizable. Unlike metal chains, a handmade necklace made from fabric feels comfortable against your skin and moves with you instead of sitting stiff on your collarbone.
Why Bandana Jewelry Is Trending
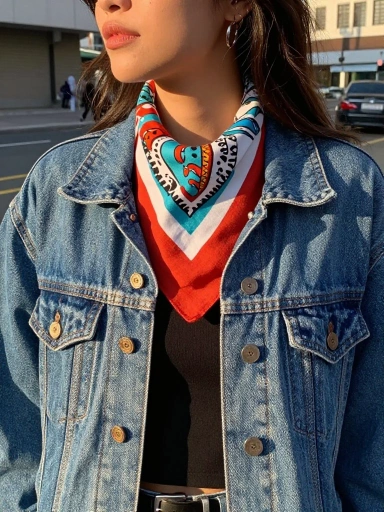
Bandana jewelry has exploded across social platforms, and it’s not hard to see why. It’s affordable, it’s easy to make, and it lets people express themselves without committing to expensive pieces. Fashion has been leaning toward textured, layered looks lately, and fabric accessories fit right into that mood.
There’s also a nostalgia factor at play here. Bandanas remind people of Y2K fashion and grunge-era styling, both of which have made a strong comeback. Pair that with the rise of upcycled bandana projects, and you’ve got a trend with real staying power, not just a passing fad.
Materials You’ll Need for This DIY Project
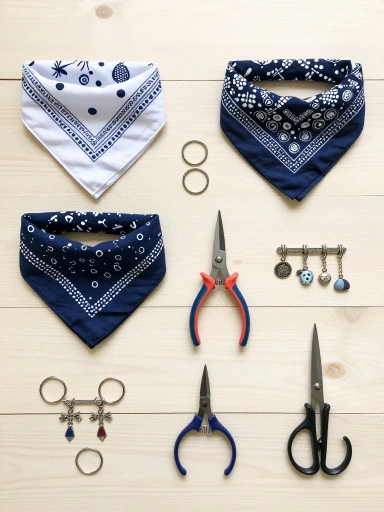
Good news: this fashion craft project barely dents your wallet. Most of these items are probably sitting in a drawer somewhere already.
| Item | Purpose | Where to Find It |
|---|---|---|
| Bandana (cotton, paisley, or solid) | Base fabric for the necklace | Craft stores, fabric shops, thrift stores |
| Charms or pendants | Personalization | Bead shops, hardware stores, old jewelry |
| Jump rings | Connect charms to fabric | Craft supply stores |
| Small pliers | Open and close jump rings | Toolbox or craft kit |
| Scissors | Cutting and shaping fabric | Any household drawer |
| Fabric glue (optional) | Securing knots | Craft stores |
Grab two or three bandanas in different colors so you can experiment. Beginner jewelry crafts work best when you have room to make mistakes and try again without stressing over wasted material.
Choosing the Perfect Bandana for Your Necklace
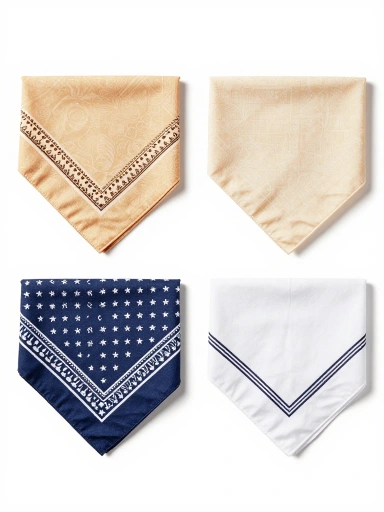
Not every bandana behaves the same way once you start folding it. Thinner cotton bandanas twist easily and hold their shape, which makes them ideal for beginners. Thicker or quilted ones look bulkier and work better for wide, statement-style designs.
Pattern matters too. Paisley prints give off a classic, vintage vibe, while solid colors keep things clean and modern. If you’re going for a boho necklace idea, reach for earthy tones like rust, mustard, or terracotta. For something bold, bright reds or electric blues instantly catch the eye.
Best Charms to Personalize Your Necklace
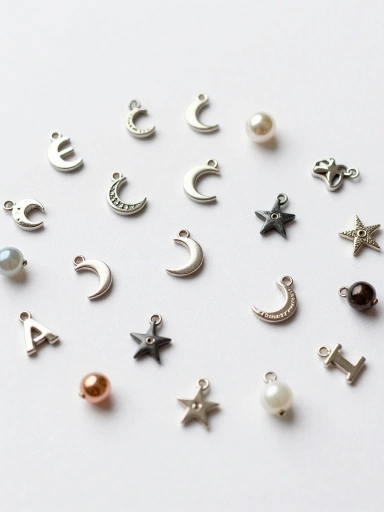
Charms are where the real magic happens. A plain bandana strip is nice, but charms turn it into a personalized necklace that actually says something about you.
Popular charm choices include initials, birthstones, tiny animals, celestial shapes like moons and stars, and vintage coins. You can also repurpose old earrings or broken bracelet pieces instead of buying new hardware. This keeps costs low and adds a one-of-a-kind touch that mass-produced jewelry simply can’t match.
Step-by-Step Guide to Making a Bandana Charm Necklace
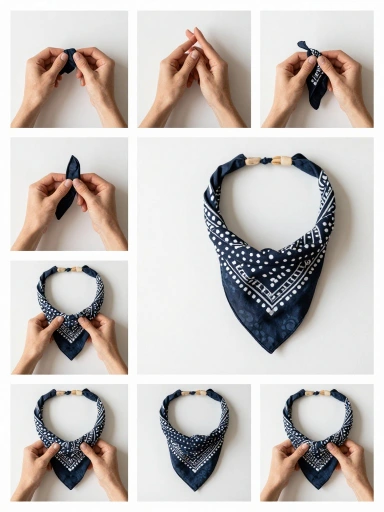
Here’s the full DIY necklace process broken down into manageable steps. Follow along, and you’ll have a finished piece before your coffee gets cold.
- Fold the bandana diagonally into a triangle, then keep folding until you get a long, narrow strip.
- Twist the strip gently to create texture instead of leaving it flat.
- Drape it around your neck and decide how long you want the final necklace to sit.
- Tie a secure knot at the desired point, leaving even tails on both sides.
- Attach jump rings to your charms, then clip them onto the knot or along the fabric.
- Trim excess fabric if the tails hang too low, and seal the edges with a dab of fabric glue if they fray.
That’s it. This easy jewelry DIY method takes less time than picking an outfit for a night out.
Creative Knotting Techniques for a Stylish Look
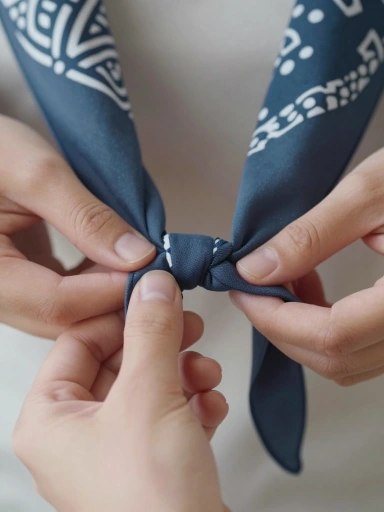
Knots aren’t just functional, they’re decorative too. A simple overhand knot gives a casual, relaxed look, while a double knot adds thickness and structure. If you want something fancier, try a square knot, which creates a flat, symmetrical detail right at the center of the necklace.
Braiding three thin bandana strips together before knotting adds even more texture. This technique works especially well if you’re combining multiple colors, since the braid lets each shade peek through instead of blending into one solid mass.
You also like this: Parisian Summer Outfit Inspo That You’ll Actually Want to Copy
Color Combinations That Stand Out
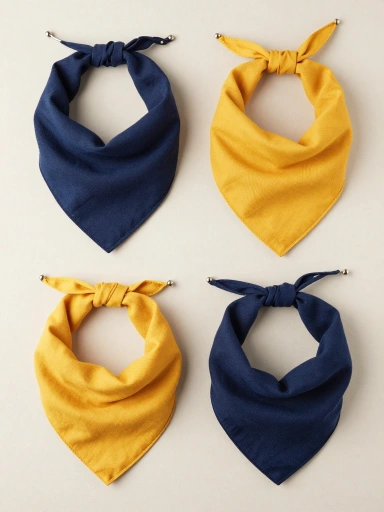
Color choice can make or break a colorful bandana craft. Complementary pairings, like navy and mustard or maroon and sage, create contrast without clashing. Monochrome looks, where you use two shades of the same color family, feel sophisticated and easy to match with outfits.
Neon combinations work great for festival looks, while muted earth tones suit everyday wear. Don’t be afraid to mix patterns either. A paisley bandana paired with a solid one adds depth that a single fabric can’t achieve alone.
Boho-Inspired Bandana Necklace Ideas
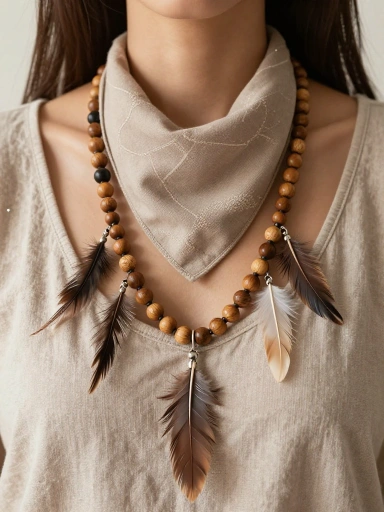
Boho bandana jewelry leans heavily on natural textures and warm, earthy palettes. Think layered strands, wooden bead charms, feathers, and turquoise accents. The goal is a relaxed, effortless look, almost like you found the piece at a vintage market rather than made it yourself last night.
Layering two or three bandana necklaces of different lengths adds instant boho flair. Mix in a leather cord alongside the fabric strand for texture contrast, and finish with a single statement charm like a sun or feather pendant.
Minimalist DIY Bandana Jewelry Designs
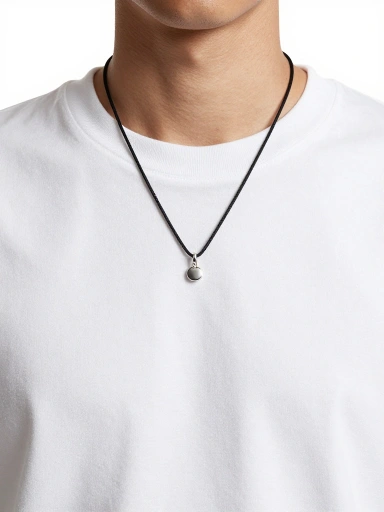
Not everyone wants a bold statement piece, and that’s perfectly fine. A minimalist version uses a single thin bandana strip, one small charm, and a clean, tight knot. Solid black, white, or beige bandanas work best for this style since they blend seamlessly with almost any outfit.
Skip the extra charms altogether if you want something ultra-subtle, or add just one tiny pendant, like a small heart or initial. This approach proves that DIY fashion accessories don’t need to be loud to look intentional and polished.
How to Style a Bandana Charm Necklace with Everyday Outfits
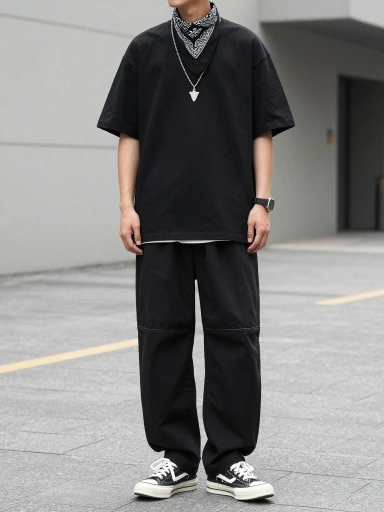
This accessory pairs surprisingly well with almost anything. Wear it over a plain white tee for an instant style upgrade, or layer it with a denim jacket for a casual streetwear look. It also works beautifully with off-shoulder tops, letting the fabric texture take center stage.
For a dressier occasion, pair a darker bandana with gold charms and wear it alongside a slip dress. The fabric softens more formal outfits, giving them an unexpected, relaxed edge that feels fresh rather than mismatched.
Budget-Friendly Tips for DIY Jewelry Making
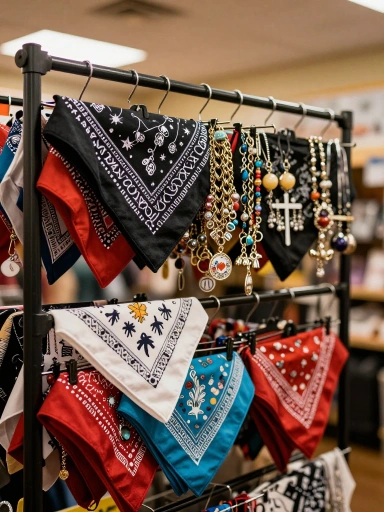
Keeping costs low doesn’t mean cutting corners on style. Buy bandanas in bulk packs rather than individually, since they usually cost less per unit. Raid old jewelry boxes for charms instead of purchasing new ones, and reuse jump rings from broken necklaces whenever possible.
Thrift stores are goldmines for affordable DIY accessories. You’ll often find bandanas, scarves, and costume jewelry for a fraction of retail price, giving you more material to experiment with for less money overall.
Common Mistakes to Avoid When Crafting
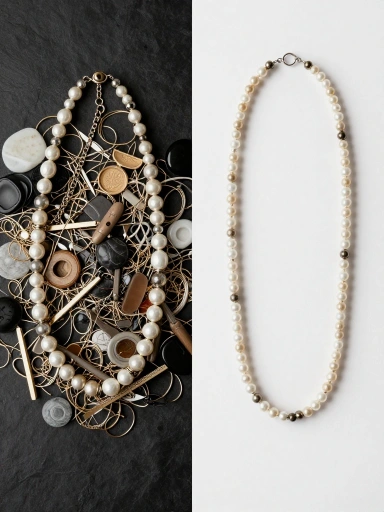
A few small errors trip up most beginners. Overloading the necklace with too many charms makes it look cluttered instead of intentional. Skipping a secure knot leads to charms sliding around or falling off entirely during wear.
Using overly thick bandanas for delicate charm placement can also weigh the fabric down unevenly. Take your time with knot placement, and always test the necklace on before finalizing, since fit changes drastically once it’s actually around your neck instead of laid flat on a table.
How to Care for Your Handmade Necklace
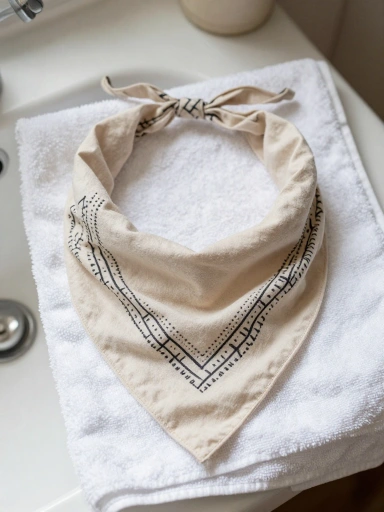
Fabric jewelry needs slightly different care than metal pieces. Hand wash bandana necklaces in cold water if they get dirty, and avoid tossing them in the dryer, since heat can warp knots and loosen charm attachments.
Store your handmade fashion accessories flat or hung up rather than balled in a drawer, which prevents permanent creasing. If a charm starts to loosen, a quick pinch with pliers on the jump ring usually solves the problem in seconds.
DIY Bandana Charm Necklace Gift Ideas
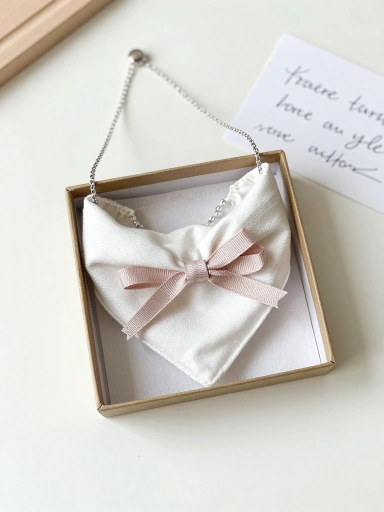
This project makes a genuinely thoughtful gift because it feels personal without being expensive. Choose a bandana in the recipient’s favorite color, then add a charm tied to something meaningful, like their birth month or a shared inside joke.
Bundle a few necklaces together as a friendship set, each one slightly different but part of a matching collection. It’s a custom charm necklace that says you actually put thought into it, which honestly beats another generic store-bought gift card.
Creative Ways to Customize Your Design
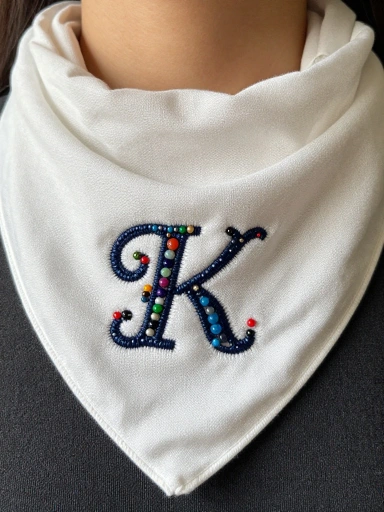
Beyond charms and knots, there’s plenty of room to make each piece unique. Try dyeing a plain bandana with fabric dye before crafting, or add embroidery details like small stitched initials along the edges.
Mixing textures, such as adding a strand of beads alongside the fabric, gives the necklace extra dimension. You can also layer multiple bandana necklaces of different widths for a bold, statement-heavy look that feels distinctly your own rather than copied from a tutorial.
Sharing Your DIY Jewelry on Social Media
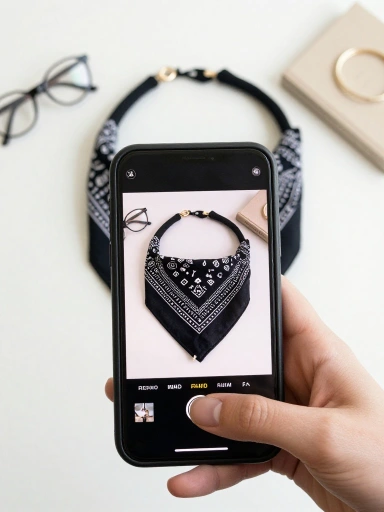
Once you’ve finished your piece, showing it off is half the fun. Natural lighting works best for photos, so shoot near a window rather than under harsh indoor bulbs. Close-up shots highlight charm details, while full-body shots show how the necklace fits into an outfit.
Short video clips of the folding and knotting process tend to perform well too, since people genuinely enjoy watching a fashion craft project come together from start to finish in real time.
Why DIY Bandana Charm Necklaces Make the Perfect Fashion Accessory
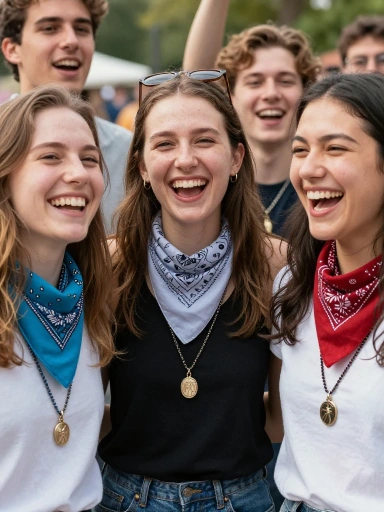
At the end of the day, a DIY bandana charm necklace checks every box that matters. It’s cheap, it’s fast to make, and it lets you express your personal style in a way mass-produced jewelry never quite manages. Every knot, charm, and color choice reflects a decision you made yourself.
Whether you’re making one for yourself, a friend, or a whole batch for a craft night, this project proves that great style doesn’t need a big budget. Sometimes the best trendy DIY jewelry is sitting in your dresser drawer, waiting to be twisted, knotted, and worn.
Frequently Asked Questions
Q: Do I need sewing skills to make a bandana charm necklace?
A: No. This project relies on folding, twisting, and knotting, not stitching. Anyone can do it, regardless of crafting experience.
Q: What size bandana works best?
A: A standard 22-inch square bandana works well for most necklace styles, though smaller ones suit choker-length designs.
Q: Can I use a scarf instead of a bandana?
A: Yes, though thinner scarves twist differently. Bandanas hold their shape better because of the sturdier cotton weave.
Q: How do I stop the necklace from fraying?
A: A small dab of fabric glue along the cut edges prevents fraying without stiffening the material too much.
Q: Is this project safe for kids to try?
A: Mostly yes, though adult supervision helps with pliers and jump rings, which can be sharp for younger hands.
Q: How long does a bandana necklace typically last?
A: With proper care, including gentle hand washing, a well-made necklace can last well over a year of regular wear.



2 Comments